|
Alpine3D 20240424.cd14b8b
|


|
|
Alpine3D 20240424.cd14b8b
|
|
Several tools are available to help using Alpine3D, several are also shared between MeteoIO, Snowpack and Alpine3D.
As for SNOWPACK, it is possible to use inishell to configure the simulations. Simply load the "alpine3d" application in Inishell and start configuring your simulation! Please note that as Alpine3D and Snowpack share many of their configuration keys, it is often a good idea to start by configuring a Snowpack simulation (for example on a single station of your data set), make sure everything seems to work as expected and then expand this configuration for Alpine3D (loading the exact same ini file in Inishell but with the "alpine3d" application selected). Currently, one limitation is that it is not possible to start an Alpine3D simulation from within Inishell, you have to run it from the command line.
There is also a java tool, "view" in the Alpine3D "Interface" sub directory that can be used to visualize ARC ASCII grids as well as to visualize DEM and LUS files in this format.
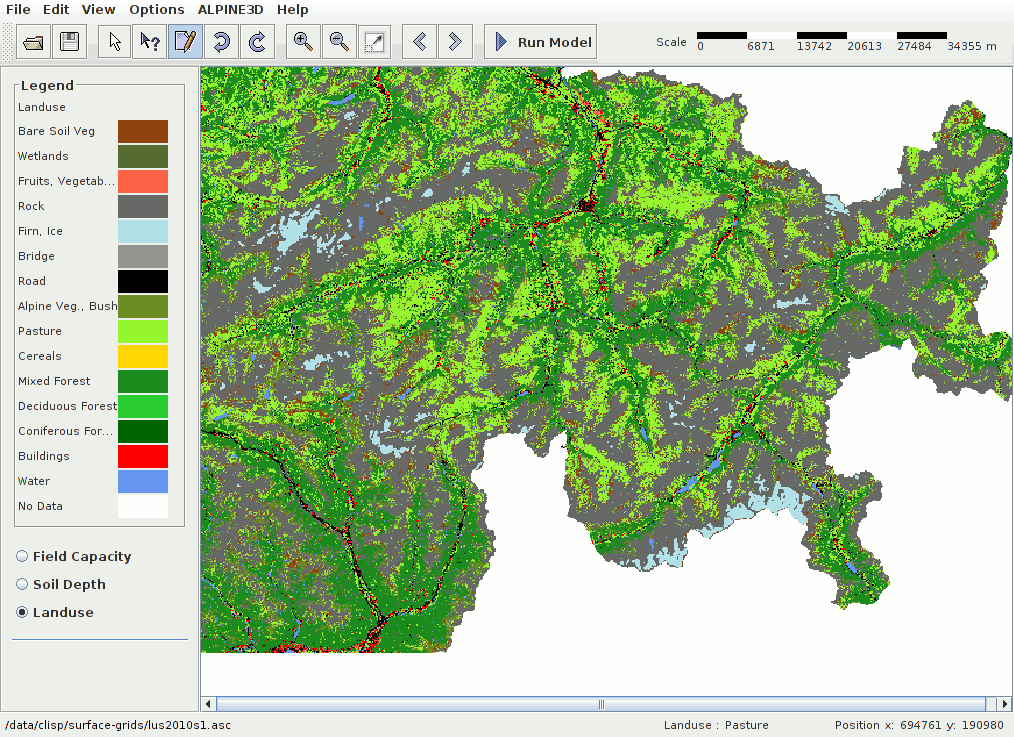
The "view" java tool in the Alpine3D "Interface" sub directory, can be used to generate a LUS file by opening an aerial picture and manually tagging the pixels (one by one, along lines or within polygons). This tool can also generate a POI (points of interest) file for more detailed outputs at some specific points.
